
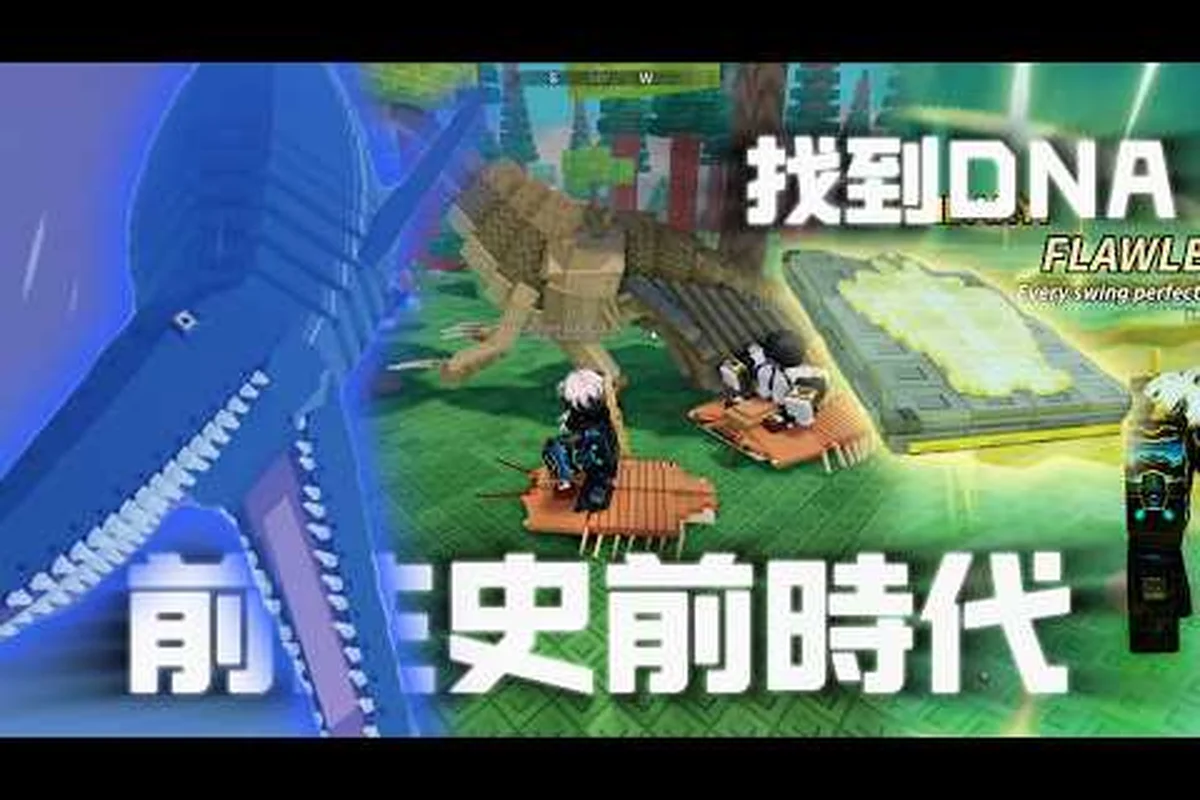
Prehistoric farm breeding turns the grind of fossil hunting into a living collection of dinosaurs, and the loop is more deliberate than most players expect. You dig up fossil pieces across wild islands, assemble complete sets, and then convert those sets into eggs at Dr. Ivy's DNA Lab before hatching them in an incubator. Understanding this pipeline early saves hours of wasted shoveling, because the difference between a random fossil pile and a targeted breeding run is the difference between a common hatchling and a legendary Elder.
Converting Fossil Sets into Hatchable Eggs
The foundation of prehistoric farm breeding rests on a simple rule: incomplete fossil sets are worthless for egg production. Every dinosaur species in the game requires a specific number of fossil pieces, and you only unlock the option to create an egg once the full set sits in your inventory. The official game page describes this as digging up fossils on wild islands and turning full fossil sets into eggs, which means partial collections should never be sold or discarded. Players who understand this early tend to keep every fossil fragment they find, because a piece that looks useless at level five might complete a rare set at level twenty.
The dig meter mechanic adds a layer of skill to fossil collection. When you swing your shovel, a meter appears with a green zone, and releasing the swing inside that zone produces better fossil drops. Community testing suggests that timed releases in the green zone dramatically improve the quality of fragments you receive, which directly feeds into how quickly you can assemble complete sets for breeding. This means prehistoric farm breeding is not purely a waiting game; your mechanical consistency at the dig site determines how fast you progress through the egg pipeline.
Fossil sets vary widely in rarity, and the table below breaks down the general progression tiers that players report encountering as they move from starter islands to late-game dig sites. The jump from Uncommon to Rare is where most prehistoric farm breeding operations stall, because cave dig sites introduce hostile mobs that interrupt the dig meter's green-zone timing, forcing players to either clear the area first or sacrifice fragment quality for safety. Community data suggests that a single Rare set can take twice as many shovel swings as an Uncommon set even with perfect meter releases, which is why experienced breeders prioritize upgrading their prehistoric farm incubator capacity before attempting deep island caves.
| Fossil Tier | Typical Pieces Required | Dig Site Location | Egg Rarity Potential |
|---|---|---|---|
| Common | 3-4 | Starter island beaches | Common to Uncommon |
| Uncommon | 4-6 | Forest and cliff dig sites | Uncommon to Rare |
| Rare | 6-8 | Deep island caves | Rare to Epic |
| Legendary | 8-10 | Sunken Grotto and sea caves | Epic to Legendary |
The key takeaway is that higher-tier fossil sets demand more pieces and more dangerous dig locations, but the payoff in egg rarity scales accordingly. A player who only digs on starter beaches will eventually hit a ceiling where no new species appear, which is why progression through the islands is essential for serious breeding.
Dr. Ivy's DNA Lab and Egg Creation
Dr. Ivy's DNA Lab is the conversion point where fossil sets become prehistoric farm eggs. The lab operates as a crafting station with a specific interface: you select a completed fossil set, confirm the conversion, and receive an egg in return. The process consumes the fossil set entirely, so you cannot use the same fossils to create multiple eggs. This one-to-one conversion is the core economic decision in prehistoric farm breeding, because you must choose between holding a fossil set for future trades or converting it now for an immediate hatch.
The DNA aspect of the lab is more than flavor text. Each egg carries a hidden DNA value that influences the dinosaur's growth potential, and players report that eggs created from higher-quality fossil sets tend to produce dinosaurs with better starting stats. While the exact formula remains unverified as of October 2026, the community consensus is that fossil quality, dig meter performance, and set completeness all feed into the final egg's DNA profile. This means two players can create eggs for the same species and end up with meaningfully different hatchlings.
The conversion sequence is deterministic in structure but variable in outcome, which is why experienced breeders treat each step as a separate failure point rather than a single transaction. Community walkthroughs consistently document the same five-stage flow — from fossil set completion through incubator placement — but the egg preview at step 3 is where most players pause to evaluate whether the hidden DNA roll justifies consuming a complete fossil set. Gameplay footage from October 2026 shows that the preview panel displays egg type and rarity before confirmation, giving you a final checkpoint to back out if the projected result does not match the fossil quality you invested. This preview-and-confirm design means the conversion itself carries no RNG surprise at the moment of extraction; the variance is already baked into the egg's DNA profile by the time you see it, so the table below should be read as a fixed workflow with a decision gate embedded at step 3.
| Step | Action | Result |
|---|---|---|
| 1 | Collect all fossil pieces for a species | Set marked as complete in inventory |
| 2 | Travel to Dr. Ivy's DNA Lab | Lab interface opens |
| 3 | Select the completed fossil set | Preview shows egg type and rarity |
| 4 | Confirm DNA extraction | Fossil set consumed, egg added to inventory |
| 5 | Move egg to incubator | Incubation timer begins |
One important nuance is that Dr. Ivy's DNA Lab does not hatch eggs. The lab only creates them, which means players who expect to walk out with a baby dinosaur will be disappointed. The incubation step happens at a separate station, and understanding this separation prevents wasted trips between islands.
Incubator Mechanics and Hatching
The prehistoric farm incubator is where eggs transform into living dinosaurs, and the incubation process is time-gated rather than instant. Each egg species has a different incubation duration, with common eggs hatching quickly and legendary eggs requiring significantly longer waits. Players report that incubation timers range from a few minutes for starter species to several hours for rare and legendary dinosaurs, though exact numbers vary by egg quality and any active boosts.
The incubator itself can hold multiple eggs simultaneously, which encourages a batch-breeding strategy. Instead of hatching one egg at a time, efficient players fill every incubator slot before heading back out to dig. This approach maximizes the value of each island trip, because you return to base with a full batch of hatchlings rather than a single newborn. The prehistoric farm hatch rates guide covers the probability side of this system in more detail, but the core principle is that parallel incubation beats sequential hatching for overall progression speed.
Incubation timing interacts with the game's growth system in a way that rewards planning. A dinosaur only grows while its belly stays over half full, which means a freshly hatched newborn needs immediate feeding if you want it to progress toward Elder status. Players who hatch eggs right before logging off often return to find their newborns hungry and stalled, because growth pauses when food drops below the threshold. The table below summarizes the incubation and early-growth considerations for different egg tiers.
| Egg Tier | Incubation Length | Newborn Food Need | Growth Stall Risk |
|---|---|---|---|
| Common | Short (minutes) | Low | Minimal |
| Uncommon | Moderate | Moderate | Low |
| Rare | Long | High | Moderate |
| Legendary | Very long | Very high | High |
The stall risk column matters because a legendary egg that hatches while you are offline will not grow at all until you return and feed it — growth pauses the moment the newborn's belly drops below the half-full threshold, and a legendary hatchling's very high food need means it stalls almost immediately after hatching. This makes legendary incubation a deliberate commitment rather than a passive background task: if you start a legendary egg before bed and it hatches at hour six of an eight-hour sleep, you lose two full hours of potential growth that no amount of later feeding can recover. The rare tier's "moderate" stall risk is more forgiving, since its high food need still depletes quickly but leaves a slightly longer window for a morning login, while common eggs with their low newborn food need can often survive a short offline gap without stalling at all. In practice, the safest pattern is to reserve legendary incubation for sessions where you know you will be online at the projected hatch time, and to fill the incubator with common or uncommon eggs when your schedule is uncertain.
Breeding Strategy for Rare and Legendary Dinosaurs
Targeting rare and legendary dinosaurs through prehistoric farm breeding requires a different approach than casual collection. The first principle is dig site selection: rare fossil pieces only appear in specific locations, and the Sunken Grotto is repeatedly mentioned in community sources as the source of sea-reptile fossils that lead to high-tier eggs. Players who want legendary dinosaurs must unlock boat upgrades and diving gear, because the best fossil sets are locked behind exploration milestones.
The second principle is fossil set prioritization. Since Dr. Ivy's DNA Lab consumes entire sets, you should avoid converting a set until you have confirmed that the resulting egg is worth the investment. Community walkthroughs, including a detailed beginner guide from SpaceQT, emphasize that early fossil sets should be converted quickly to build a starter roster, while later sets deserve more careful evaluation. The trade-off is between immediate roster expansion and holding out for a rare hatch.
The third principle involves the growth pipeline after hatching. A legendary egg is only valuable if you can raise the resulting dinosaur to Elder status, which requires consistent feeding and time. The prehistoric farm baby dino care guide explains the growth stages from Newborn to Elder in detail, but the breeding-specific insight is that you should not hatch a legendary egg until you have the food reserves to sustain its growth. Hatching a legendary dinosaur and then letting it stall at Newborn wastes the rarest resource in the game.
The table below distills these three principles into a stage-by-stage planning tool, because the optimal move in prehistoric farm breeding depends heavily on whether you are still unlocking boat upgrades and diving gear or already farming Sunken Grotto fossil sets. Each row reflects a different risk profile: early-game players can afford aggressive egg conversion since common sets replenish quickly, while late-game players must coordinate Dr. Ivy's DNA Lab consumption, incubator space, and food reserves before committing a legendary set.
| Player Stage | Fossil Focus | Egg Conversion Policy | Incubation Strategy |
|---|---|---|---|
| Early game | Common sets on starter islands | Convert everything immediately | Batch common eggs for roster |
| Mid game | Uncommon and rare sets in caves | Convert sets with confirmed value | Mix common and rare batches |
| Late game | Legendary sets in Sunken Grotto | Hold sets until food reserves are ready | Single legendary egg with full prep |
This staged approach prevents the common mistake of burning rare fossil sets too early, only to realize that the resulting legendary newborn cannot be properly raised. The failure mode is specific and measurable: a legendary hatchling requires a sustained feeding schedule across multiple growth stages before it reaches Elder status, and if your food reserves run dry at the Newborn or Juvenile stage, the dinosaur stalls indefinitely while still occupying a precious incubator slot. Late-game players who rush a Sunken Grotto fossil set through Dr. Ivy's DNA Lab without first stockpiling enough feed effectively lock themselves out of further incubation cycles until the backlog clears. The table above reflects this risk asymmetry — early-game common sets replenish quickly and can be converted aggressively, but a wasted legendary set represents hours of Sunken Grotto diving and boat-upgrade progression that cannot be recovered by simply farming more starter islands.
Optimizing the Breeding Loop
Efficiency in prehistoric farm breeding comes from reducing the time between fossil collection and egg hatching. The most impactful optimization is dig meter mastery, because every green-zone release produces better fossil fragments and shortens the time to complete a set. Players who consistently hit the green zone report completing rare sets in roughly half the time of players who ignore the meter, which compounds across dozens of breeding cycles.
The second optimization is incubator management. Since the incubator has limited slots, you should always have eggs incubating while you are out digging. Returning to an empty incubator means you wasted potential hatching time, and the fix is simple: before every island trip, check that every incubator slot is occupied. This habit alone can double your effective breeding output without any additional grinding.
The third optimization is understanding the relationship between prehistoric farm dna and egg quality. While the exact DNA formula is not publicly documented, players consistently report that eggs created from fossil sets collected with high dig meter accuracy produce dinosaurs with better growth rates. This means the skill expression in breeding is not just about finding fossils, but about collecting them well. The prehistoric farm breeding guide provides additional context on how these mechanics interact, but the core insight is that mechanical consistency at the dig site translates directly into breeding outcomes.
A practical breeding session might look like this: dig on a targeted island until you complete one or two fossil sets, return to Dr. Ivy's DNA Lab to convert them, load the eggs into the incubator, feed any newly hatched dinosaurs, and then head back out. The loop is simple, but each step has optimization potential that separates efficient breeders from casual collectors.
Frequently Asked Questions
How do I get prehistoric farm eggs?
You get prehistoric farm eggs by collecting complete fossil sets and converting them at Dr. Ivy's DNA Lab. The lab consumes the entire set and produces one egg, which then goes into the incubator for hatching. Partial fossil sets cannot be converted.
What does Dr. Ivy's DNA Lab do?
Dr. Ivy's DNA Lab converts completed fossil sets into eggs. It does not hatch eggs, so you need to move the resulting egg to the incubator afterward. The lab is the only place where fossil sets become breedable eggs.
How long does prehistoric farm incubation take?
Incubation time varies by egg rarity, with common eggs hatching in minutes and legendary eggs taking much longer. The incubator can hold multiple eggs at once, so batch hatching is more efficient than waiting for one egg at a time.
Why is my dinosaur not growing after hatching?
Dinosaurs only grow while their belly stays over half full. If a newborn hatches and you do not feed it, growth pauses immediately. Keep food reserves ready before hatching rare or legendary eggs to avoid stalling at the Newborn stage.
Can I breed dinosaurs without fossil sets?
No, fossil sets are the only source of eggs in prehistoric farm breeding. You must dig up fossil pieces, complete sets, and convert them at Dr. Ivy's DNA Lab. There is no direct dinosaur-to-dinosaur breeding mechanic in the current version.